How to customise ur nekoweb cookiebox
What's a cookiebox?
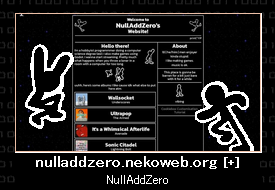
A cookiebox is what nekoweb uses to display your website on it's discovery pages (recently updated, explore). It's what most people will first see from your website, and includes 5 components:
- A screenshot of your index page
- A background
- Your websites url (e.g. "nulladdzero.nekoweb.org")
- The title of your index page (e.g. "Cookieboxes - NullAddZero", it's the text inside the current tab)
- A follow button (The [+] button)
Basic Customisation
For starters, let's edit what we already have available to us.
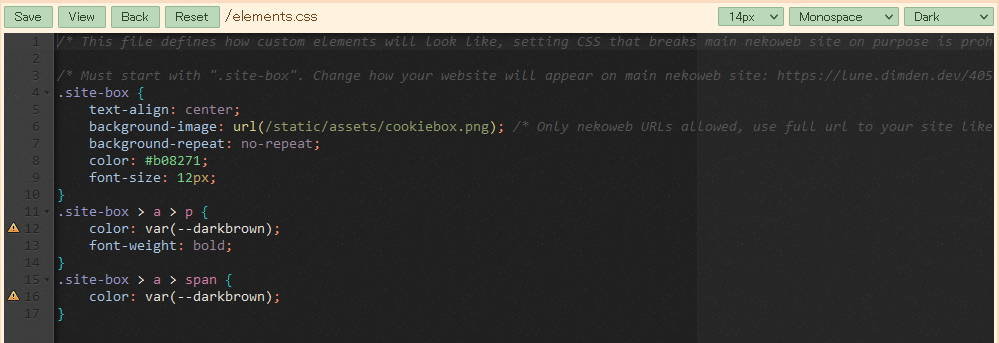
Open your dashboard, and edit "elements.css". You should see something like this:

Now is a good time to mention that css knowledge is reccomended if you want to do anything outside of this tutorial (along with knowing how to inspect element stuff for finding out what elements are being used and how to use them).
For now, we're going to look at both ".site-box > a > p" and ".site-box > a > span". These are the properties for the url text and title text respectively. You probably want to change the colours, so replace "var(--darkbrown) with whatever hexadecimal colour value you want to use.
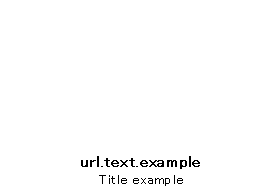
Next, you probably want to change the background of your cookiebox. look inside ".site-box" and find "background-image". You'll need to have a background image to replace the default one. If you have an art program, you can use the image below as a reference for where to position your elements.

Then once you're done, you will want to replace all the text inside the brackets next to "url" with the exact url of the image. By that, I mean instead of the relative path you usually use with your website (e.g. "/cookiebox-reference.png") you want to have the full url that leads to your image (e.g. "nulladdzero.nekoweb.org/cookiebox-reference.png"). Once that's done, save your changes, find your cookiebox on the explore menu (there's no easier way to find it then just looking for it, for some reason) and marvel at your creation. (If you don't see any changes to your cookiebox, try pressing CTRL + SHIFT + R, which will hard reload the page and clear your cache. That usually solves the problem.)
Image Overlay
Some people have images that overlap the screenshot, and sometimes (if they are a nekoweb supporter) extend outside of the cookiebox. This is done by creating a new css element called ".site-box::after".

This allows you to insert another element after the main cookiebox, allowing you to load any custom image inside. Note the usage of "position: absoloute" and the top and left properties. This allows you to adjust the position of your element to any specific location within your cookiebox.
Preview Boarder
Every website preview image has a tiny brown(?) border around it.

(Ignore the white, that's the background image I have)
You might want to edit this into something else. To do that, create a new element called ".site-box .sitefeature" and add a border property.
